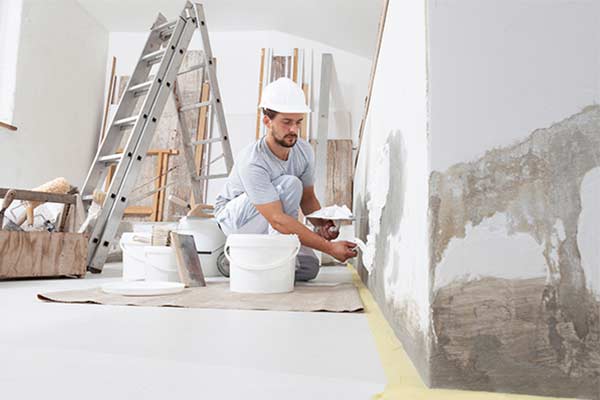
When it comes to painting your home by painters adelaide, whether it’s a single room or the entire exterior, the quality of the finish relies heavily on one crucial step: surface preparation. Many homeowners in Adelaide and beyond might be tempted to skip this stage in favour of a quicker project, but properly preparing surfaces is essential for achieving a smooth, long-lasting, professional-looking result. Whether you’re painting indoors or outdoors, proper prep work sets the foundation for a durable, even finish that can stand up to daily wear and tear and Adelaide’s harsh climate.
1. Why Surface Preparation Matters
Surface preparation involves cleaning, repairing, sanding, and priming the areas to be painted. While it might seem like an unnecessary step, especially when the walls “don’t look too bad,” it’s crucial for several reasons:
Adhesion: Paint needs a clean, stable surface to adhere properly. Without adequate preparation, paint can fail to bond to the surface, leading to peeling, cracking, and flaking down the line.
Smooth Finish: Without filling in cracks, holes, or rough patches, your finished paint job will look uneven and unprofessional. Proper prep ensures a smooth and polished finish.
Longevity: A well-prepared surface helps the paint last longer. In Adelaide, where UV rays and changing weather conditions can wear down exterior paint, proper preparation protects your home’s surfaces from early deterioration.
2. Steps to Proper Surface Preparation
Surface preparation isn’t a one-size-fits-all approach—it depends on the material you’re working with, whether it’s timber, brick, plasterboard, or concrete. However, the general steps are consistent across most painting projects.
1. Cleaning the Surface
Before any painting begins, it’s vital to clean the surface thoroughly. Dirt, dust, grease, and even mould can prevent paint from adhering properly. For interiors, a simple wipe-down with a damp cloth and mild detergent is often sufficient. For exteriors, especially in Adelaide’s dry and dusty climate, you might need a power washer to remove grime, dust, and any old peeling paint.
For areas prone to mould or mildew (especially kitchens, bathrooms, or outdoor areas), use a bleach solution or anti-mould cleaner to thoroughly remove any traces. If the mould isn’t properly treated, it can cause the new paint to bubble or peel.
2. Repairing Damage
Next, inspect the surfaces for any damage, such as cracks, dents, or holes. These imperfections need to be repaired to achieve a flawless finish. Use filler or putty to patch small holes or cracks, and for larger imperfections, it may be necessary to replace damaged sections of plasterboard or timber.
For exteriors, check for signs of water damage, rotting timber, or crumbling brick. These should be repaired before any painting can begin. Skipping this step means that the underlying issues could cause your new paint to deteriorate much faster than it should.
3. Sanding the Surface
Sanding is essential for creating a smooth, even surface that allows the paint to adhere properly. Sanding roughs up glossy or previously painted surfaces, helping the new coat stick. It’s also important for levelling out any areas where filler has been applied.
For exterior projects, sanding down areas where the paint has peeled or cracked ensures a cleaner, smoother base for the new paint. Be sure to dust off any sanding residue before applying primer or paint.
4. Priming
Primer acts as the intermediary between the surface and the paint, helping the paint bond better and ensuring even coverage. It’s particularly important when painting over bare wood, metal, or plaster, or when covering darker colours with lighter shades. Using primer helps prevent issues like discolouration, uneven textures, or peeling paint.
For homes in Adelaide, where the intense summer sun can fade paint quickly, using a high-quality primer also helps protect against UV damage, extending the life of the paint job.
3. Skipping Surface Prep: The Risks
Failing to properly prepare a surface before painting can lead to a number of problems down the road, including:
Peeling and Flaking: Without proper adhesion, the paint can peel or flake off in large sections, especially in high-traffic areas or those exposed to the elements.
Visible Imperfections: Unfilled cracks, holes, and dents will remain visible through the paint, giving the surface a rough, unfinished appearance.
Reduced Durability: In areas like Adelaide, where exterior paint is exposed to intense sun and rain, skipping prep work can significantly reduce the lifespan of your paint job, leading to early fading and cracking.
Conclusion
Surface preparation is the unsung hero of any successful painting project. While it can be tempting to rush through or skip this step altogether, taking the time to properly clean, repair, sand, and prime your surfaces will ensure a professional-looking, long-lasting result. For Adelaide homeowners, where weather conditions can be particularly harsh on exterior paint, proper surface preparation is especially critical for protecting your home and ensuring the paint job stands the test of time.

